At Gellerman Orthodontics, we know your time is valuable. That’s why we’ve streamlined your first visit by combining several important steps into one convenient appointment at our Huntington, NY office on Long Island. From advanced diagnostics to a personalized treatment plan, we make sure you leave with a clear understanding of your orthodontic journey — at no cost to you.
What to Expect at Your Initial Consultation
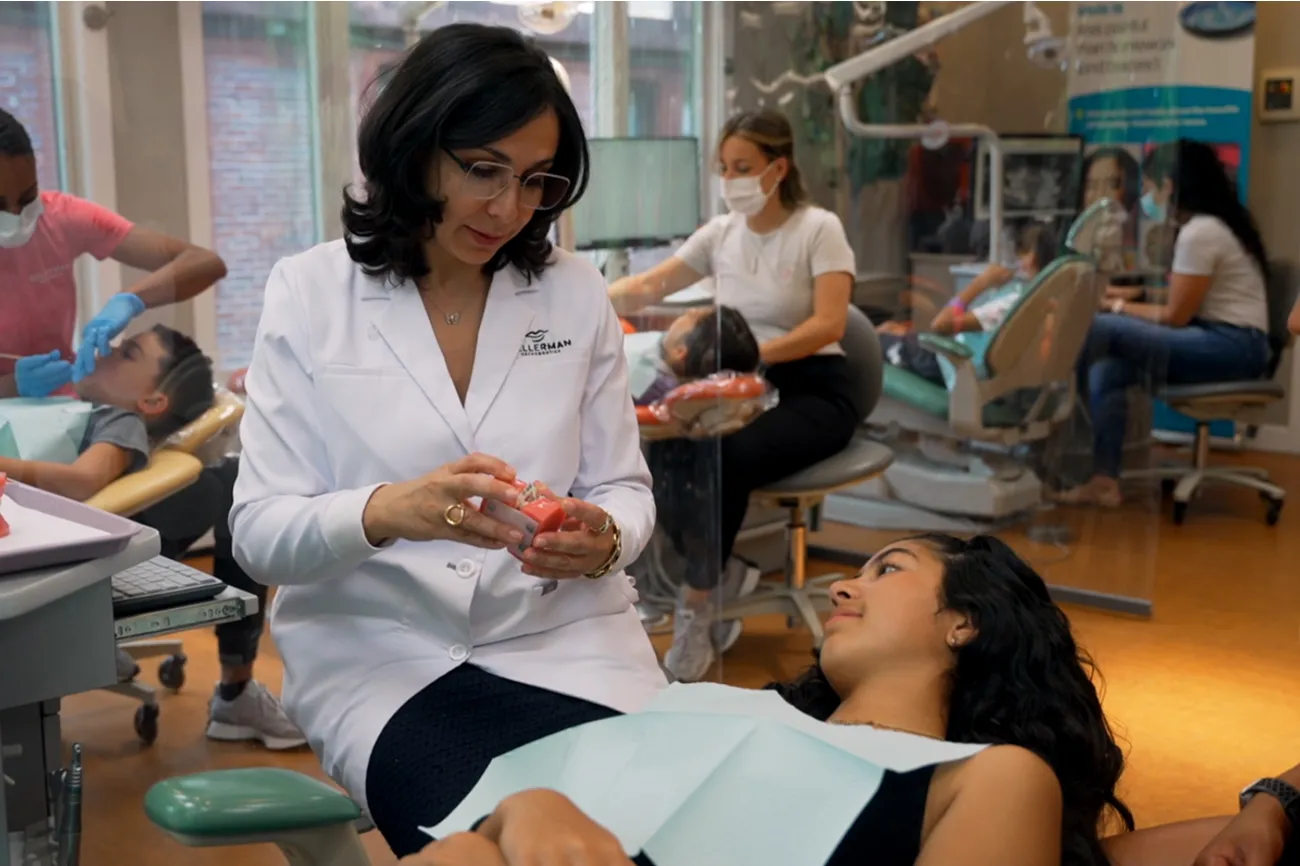
Advanced Digital Diagnostics
Your visit begins with our records technician, who will capture high-resolution digital images using the latest in orthodontic technology, including:
3D Imaging — Provides a detailed view of teeth, jaw structure, and airway health.
Digital Photographs — Used to track your progress throughout treatment.
These diagnostic tools help us create a customized treatment plan while allowing us to monitor changes as your teeth move.
Comprehensive Orthodontic Exam with Dr. Gellerman
Dr. Gellerman will perform a thorough examination, assessing your teeth, bite, and jaw alignment. She will determine if treatment is necessary and discuss the best time to start care. Most importantly, this is your opportunity to ask any questions — we’re here to help you make informed decisions about your smile.
Starting Treatment the Same Day
In some cases, if Dr. Gellerman determines you’re ready, we can get started right away.
By the end of your first appointment, you’ll have a clear treatment plan, expert guidance, and confidence in the next steps toward your new smile. Best of all? Your initial consultation is completely free!
Your smile is yours forever, and we want to make it as easy as possible for you to receive the best orthodontic care whenever you need it.
For your convenience, our practice accepts most major credit cards and insurance plans. If you have insurance that covers any portion of your orthodontic treatment, our office staff is always available to help you with insurance claims and paperwork. Please let us know if you have any questions about your insurance coverage or ideas about how we can make your entire orthodontic experience a pleasant one.
Exclusive Promotions & Discounts
We would like to extend a special discount on all orthodontic services to the employees and members of the following organizations:
Town of Huntington
Huntington Hospital
Junior Welfare League of Huntington
Heckscher Museum of Art
Pink Aid
First Responders
Teachers
Nurses
Military
YMCA
If you belong to an organization that would like to offer a special discount to its members, please call our office and set up an appointment to meet one of our orthodontists. We look forward to meeting you!
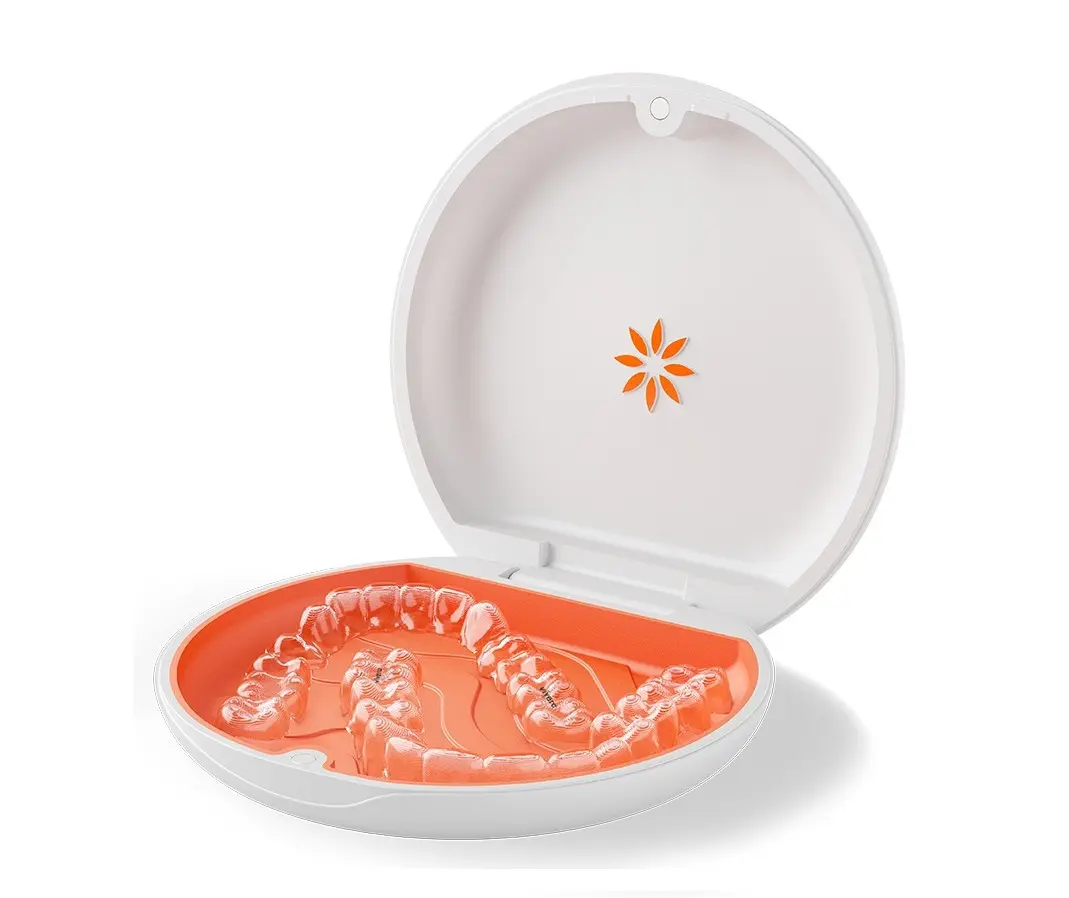
Appliance Instructions
Retainer Instructions
Wear the retainer as instructed, except when eating or brushing your teeth.
Call our office if you’ve gone a long period of time without wearing the retainer, it may no longer fit.
Clean teeth and appliances with a toothbrush every day and if possible after every meal.
If you cannot brush after eating, please rinse your mouth and retainer prior to putting it back.
To avoid breakage or loss, keep retainer in the case provided when not in use. It is very easy to accidentally throw them away, get stepped on, chewed by a pet, etc. when not in the case.
Avoid chewing gum, hard candy, or hard foods with the appliance in your mouth.
Palatal Expander Instructions
A palatal expander is a small appliance that gently widens the upper jaw to create more space for teeth and improve your child’s bite and breathing. It’s simple, effective, and works best when used during growth. Here’s what to expect and how to care for it:
Cleaning Tips
Brush thoroughly around the expander after every meal.
Have your child rinse with water or mouthwash to flush out food stuck around the appliance.
A water flosser can help clean hard-to-reach areas.
What to Expect
Mild pressure or tightness is normal after each turn — this usually lasts a few minutes.
A space may appear between the front teeth as the jaw expands — this is a great sign that the appliance is working.
Your child might speak a little differently for a few days, and extra saliva is common at first.
Eating and swallowing may feel strange for the first week, but things improve quickly!
How To Turn Your Expander
You’ll receive a special key to activate the expander.
Follow our instructions exactly for how many turns to do each day/ week.
Always turn slowly and fully — you should see the next hole appear clearly.
Tip: Have your child lie down under good lighting to make turning easier.
If you miss a turn, don’t double up, just resume the schedule as directed and call us if unsure.
Eating With the expander
Stick with soft foods in the first few days: pasta, scrambled eggs, smoothies, yogurt.
Avoid sticky, chewy, or crunchy foods like gum, caramel, popcorn, or raw carrots.
Cut food into small pieces to make chewing easier.
When to Call us
Please contact our office if:
The expander feels loose or uncomfortable
Your child experiences ongoing pain
You’re unsure about turning or feel resistance
This little appliance is doing big work! In just a few weeks, your child’s upper jaw will gently expand to create space for healthy tooth alignment and easier nasal breathing. We’re always here to help — don’t hesitate to reach out with any questions or concerns.
Herbst Appliance Instructions
The Herbst appliance is an important part of your child’s orthodontic treatment. It helps guide jaw growth, improve the bite, and support better breathing. Like any new appliance, it takes a little time to get used to. Here’s what to expect and how to make the transition as smooth as possible:
What To Expect Your First Week
Mild Soreness — It’s normal to feel pressure or soreness in the jaw and teeth for the first few days. Over-the-counter pain relief like Tylenol or Advil can help.
Cheek Irritation — The appliance may cause rubbing or tenderness inside the cheeks. This usually gets better in a few days. Orthodontic wax can be placed on any rough areas.
Speech and Eating — Speaking may feel awkward at first, and eating might be a bit tricky. Stick with soft foods (yogurt, pasta, smoothies) until your child adjusts, usually within a week.
Eating With The Herbst Appliance
To keep the appliance in good condition:
Avoid sticky foods (gum, caramel, gummy candies)
Avoid hard or crunchy foods (nuts, popcorn, raw carrots, ice)
Cut food into small, bite-sized pieces
No chewing on pens, fingernails, or ice!
Cleaning Tips
Brush thoroughly around the appliance after every meal.
Use a floss threader or water flosser to clean between the teeth.
Rinse with water or mouthwash to keep everything fresh and clean.
When to Call us
Contact our office if:
A part of the appliance comes loose or breaks
There’s ongoing pain that doesn’t improve
Your child can’t eat or talk comfortably after the first few days
We're Here For You
It takes about a week to adjust, but once your child gets used to the Herbst appliance, they’ll barely notice it, and it’s doing amazing work behind the scenes! This appliance is key to helping your child avoid extractions, improve jaw growth, facial balance, and even breathe better.
We’re here if you have any questions — give us a call at (631) 427-8444!
Facemask Instructions
The Facemask Appliance is a one-piece unit comprised of a stainless steel framework (central core) with adjustable forehead and chin pads as well as a “cross piece” that attaches directly to an intra-oral (in the mouth) appliance to bring the upper jaw forward and downward.
General instructions
The Facemask Appliance is used in patients who present with a “Class III malocclusion” or “underbite”. The body does most of its daily growth roughly between 6 PM and 6 AM — the greatest degree of Facemask wear between those hours tends to yield the best results. Placing the appliance before or immediately following dinner up until snack/bathing and then all night will optimize results.
Cleaning
The Facemask can be cleaned with a damp cloth or with any kind of disinfection pad (“Wet Ones ®” and the like). The forehead and chin pads can be replaced with new pads and are often more comfortable when lined with “Dr. Scholl’s Mole- skin®”.
What to expect
As with any appliance, there is a short adjustment period as the teeth may experience some minor soreness as the body acclimates to the appliance. We suggest increasing time with the appliance gradually starting with 1 hour and adding an hour per day until the patient is comfortable with wearing the appliance for the desired interval. Any standard pain medication can help during the adjustment period but is not necessary thereafter.
If the appliance is placed immediately before bed, it can often create more soreness than is necessary, prompting “unconscious” removal by the patient. Placement of the appliance as early in the evening as possible is key to success!
dr gellerman, gellerman orthodontics reviews, dr inna gellerman, gellerman orthodontist, inna gellerman, gellerman orthodontics, contact us orthodude, gellerman ortho, dr gellerman orthodontist, new patients orthodude, testimonials orthodude, patient forms orthodude, kids orthodude, office tour orthodude, braces orthodude, herbst appliance, herbst appliance cost, ms orthodude, herbst appliance before and after, transform your smile with orthodude, orthodontist huntington, halterman appliance